


 Login
 Blog
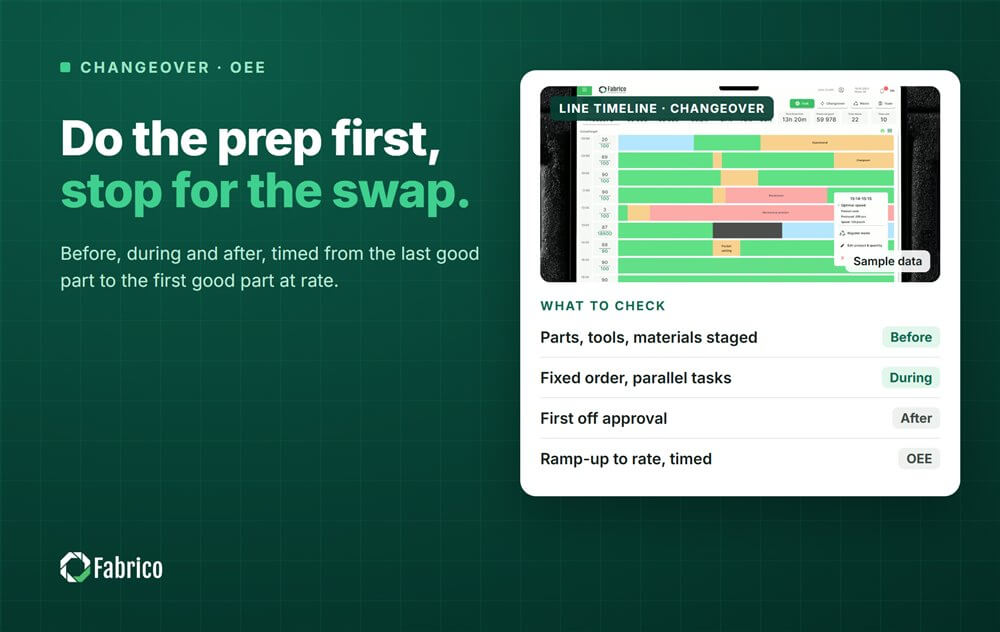
Changeover Checklist for Production Lines: Before, During, After

Key takeaways
- Time the changeover from the last good part of the old product to the first good part of the new one at rate.
- Split the checklist into before, during and after, so the line only stops for work that really needs it stopped.
- Before the stop: change parts, tools, materials, settings and the QC check staged at the line.
- During the stop: a fixed order, tasks in parallel, and recorded settings instead of trial and adjust.
- After the restart: first off approval, ramp-up to rate, parts returned clean, and the times written down.
Line 3 is changing from 500 ml to 1 litre bottles. The line stops, and the fitter walks to the store for the guide rails. The starwheel set is in the wrong crate, the label reel for the new product is still in the warehouse, and the first bottles jam because nobody remembers where the infeed guide sat last time. The shift's OEE takes the hit, and the changeover sheet says it went fine.
A changeover checklist fixes most of that before the line stops. Built on SMED, it moves every task that can be done while the line runs out of the stop, and puts the rest in a fixed order. It also gives you a way to measure the result, so the next changeover can be compared with this one.
This guide covers how to time a changeover, the split between internal and external work, a checklist table for before, during and after, a worked sample and the mistakes that undo the gains.
How to measure a changeover
Start the clock at the last good part of the old product. Stop it at the first good part of the new product with the line at its rated speed. Anything shorter flatters the result: a changeover measured from machine stop to machine start leaves out the run out, the trial parts, the wait for approval and the slow first minutes.
Record the steps in between as well, not only the total: clearing, cleaning, mechanical change, settings, first parts, approval and ramp-up. The total tells you how big the loss is. The steps tell you where to work. Our guide to changeover time covers the definitions in more depth.

Internal and external work: the SMED split
SMED, single minute exchange of die, comes from Shigeo Shingo. It separates internal work, which can only be done with the machine stopped, from external work, which can be done while it runs. Single minute means a single-digit number of minutes, under ten (Lean Enterprise Institute).
The method is simple to state: list every task, mark each one internal or external, move the external ones out of the stop, then convert internal tasks into external ones where you can, for example by presetting a part off the line. A checklist is the tool that makes the split stick on every shift. For the full method, read our guide to SMED.
The changeover checklist
Use this as a starting template and adapt the tasks to your line. The type column is the important one: an external task done during the stop is lost time.
| Phase | Task | Type | Who |
|---|---|---|---|
| Before | Confirm next product, quantity and changeover time with planning | External | Shift leader |
| Before | Change parts for the next format on a cart at the line, checked for wear and labelled | External | Fitter |
| Before | Only the tools needed, on a cart or shadow board | External | Fitter |
| Before | Labels, film, cartons and caps for the next product at the line, artwork and codes checked | External | Material handler |
| Before | Settings sheet for the next product ready, with marked positions | External | Line lead |
| Before | QC told the expected time of the first part, check sheet and reference sample ready | External | Shift leader |
| During | Run out, record the last good part | Internal | Operators |
| During | Line clearance: remove all old product, labels and packaging | Internal | Operators |
| During | Cleaning to the standard for this change | Internal | Operators |
| During | Remove and fit change parts in a fixed order, two people in parallel | Internal | Fitter, operator |
| During | Set guides, heights and speeds to the settings sheet | Internal | Line lead |
| After | First parts, first off approval | Internal | Operators, QC |
| After | Ramp-up, record the time the line reaches rate | Internal | Line lead |
| After | Old change parts cleaned, checked and stored, worn parts reported | External | Fitter |
| After | Times per step recorded and compared with the standard | External | Shift leader |
Before the stop: finish the external work
The rule is that the line does not stop until the cart is complete. Change parts, tools, materials and the settings sheet are at the line, checked, before the last good part. A walk to the store during the stop is the most common waste in a changeover, and the easiest to remove.
Two items are often missed. Packaging for the next product should be checked against the order before it reaches the line: wrong artwork found after the restart means a second stop. And QC should know when the first part is expected, so the check starts when the part exists instead of when someone finds a technician.
During the stop: fixed order, parallel work, no guessing
Write the internal tasks in the order they are done, and keep that order on every shift. Where two people work, split the line between them so they never wait for each other: one on the filler and capper, one on the labeller and case packer, for example.
The biggest single block of internal time is often trial and adjust: run, look, move a guide, run again. It shrinks when every adjustable part has a marked or recorded position for each product, often called a centerline. Then the setting is a number to reach, not a judgement to make.
Two steps are not shortened. Line clearance stays complete, because a stray label from the last product is a recall waiting to happen; see our guide to line clearance. A validated allergen clean stays exactly as validated; our article on allergen changeover validation explains why.
After the restart: first good part at rate
The changeover is not finished when the line moves. It is finished when the first parts are approved and the line runs at rate. Record both moments. The wait for first off approval and a slow ramp-up are often longer than people expect, and they only shrink once they are measured.
Then reset for the next time. Old change parts go back cleaned and checked, worn parts are reported before the next changeover needs them, and leftover packaging goes back to the warehouse. The last task is to write down the step times and any problem, so the next shift starts from facts.
A worked example
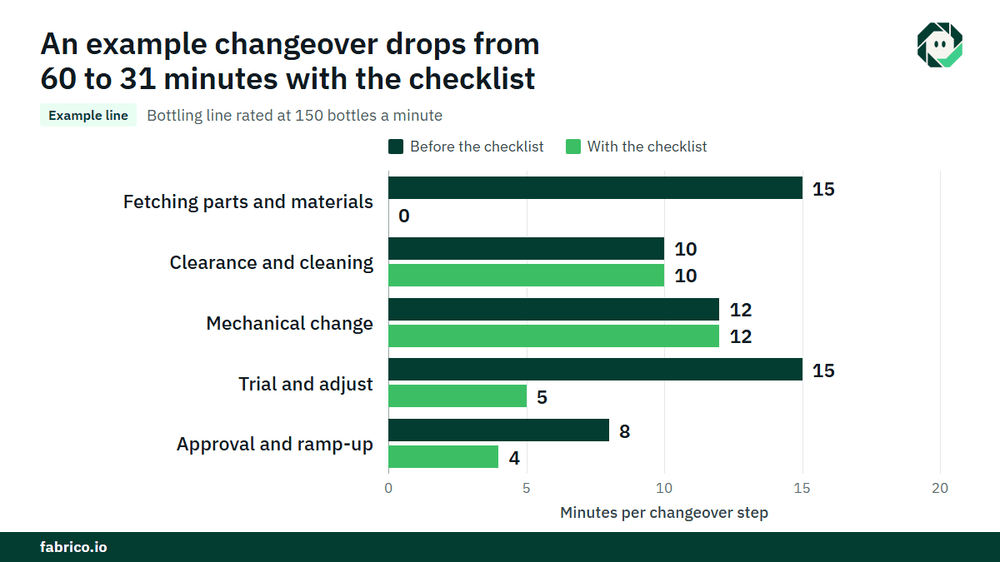
Sample line (illustrative numbers, not a customer): a bottling line is rated at 150 bottles a minute. It is the constraint and sold out, and each bottle carries $0.05 of contribution, €0.05 in a euro plant, so a lost minute is worth 150 x $0.05 = $7.50 (€7.50). The line changes over ten times a week for 48 production weeks, 480 changeovers a year.
| Step | Before the checklist | With the checklist | What changed |
|---|---|---|---|
| Fetching parts and materials | 15 min | 0 min | Done before the stop |
| Clearance and cleaning | 10 min | 10 min | Unchanged on purpose |
| Mechanical change | 12 min | 12 min | Unchanged |
| Trial and adjust | 15 min | 5 min | Recorded settings per product |
| Approval and ramp-up | 8 min | 4 min | QC told in advance |
| Total, last good part to rate | 60 min | 31 min | 29 min saved |
29 minutes x 480 changeovers = 13,920 minutes a year, or 232 hours. At $7.50 a minute, that is 13,920 x $7.50 = $104,400 (€104,400) a year, without new equipment and without touching the cleaning. If the line had spare capacity, price the minutes at the cost of catching up instead, which is usually much lower.
Measuring changeovers with machine data
A paper checklist tells you what was done. Machine data tells you how long it took. The line's count gives the last good part and the return to rate without anyone writing anything, and the stop in between is logged automatically.
The operator confirms the reason as a changeover, from a short list, and can mark the steps that matter, such as waiting for approval. Where a camera watches the station, a clip of the stop is kept as evidence. Set a standard time for each changeover type, treat the standard as planned if that is your rule, and book every minute over it as unplanned with a reason. More ideas for the next round of cuts are in how to reduce changeover time.
Mistakes that undo the gains
- SMED as working faster. Rushing raises errors. The time comes from moving work out of the stop and removing adjustment.
- A checklist without times. Ticked boxes do not show where the minutes went.
- No standard per changeover type. Without one, an overrun cannot be seen.
- Settings in one person's head. When that person is on holiday, trial and adjust comes back.
- Hiding changeovers in planned time. The loss disappears from OEE and stays on the floor.
Where Fabrico fits
Fabrico is a computer vision enabled Manufacturing Performance Platform. OEE and light MES come first: automatic downtime logging records each changeover from the last good part to the line back at rate, and OEE live by line and shift shows what each changeover did to the shift.
The operator confirms the reason in one tap, and a camera clip serves as evidence for a stop where a camera watches the station. Losses are priced in money and ranked by money, so a changeover overrun can be compared directly with jams and breakdowns. If a change part fails, a work order goes to the right technician with its cost. Plants with several sites get one view across plants, and you can start on one line.
Each plant gets a quote after a review of its lines.
Frequently asked questions
What should be on a changeover checklist?
Tasks for before the stop (parts, tools, materials, settings, QC notice), during the stop (run out, clearance, cleaning, change parts, settings) and after the restart (approval, ramp-up, returning parts, recording times), each marked internal or external with an owner.
How do you measure changeover time?
From the last good part of the old product to the first good part of the new product at rated speed. Record the step times in between as well, so you know where to work.
What is the difference between internal and external setup?
Internal setup can only be done with the machine stopped, such as fitting change parts. External setup can be done while the machine runs, such as bringing the parts to the line and checking them.
How does a changeover affect OEE?
A changeover is a setup loss, which reduces Availability. Startup rejects after the restart reduce Quality, and a slow ramp-up can reduce Performance, depending on the plant's rule.
Can a changeover checklist work without software?
Yes, a paper checklist and a stopwatch are a good start. Machine data adds exact times on every changeover without extra work, which is what makes the trend reliable.
See your changeovers measured from last part to rate
Bring your current changeover sheet to a demo. We will show the same changeovers timed from machine data, with the overruns priced in money.

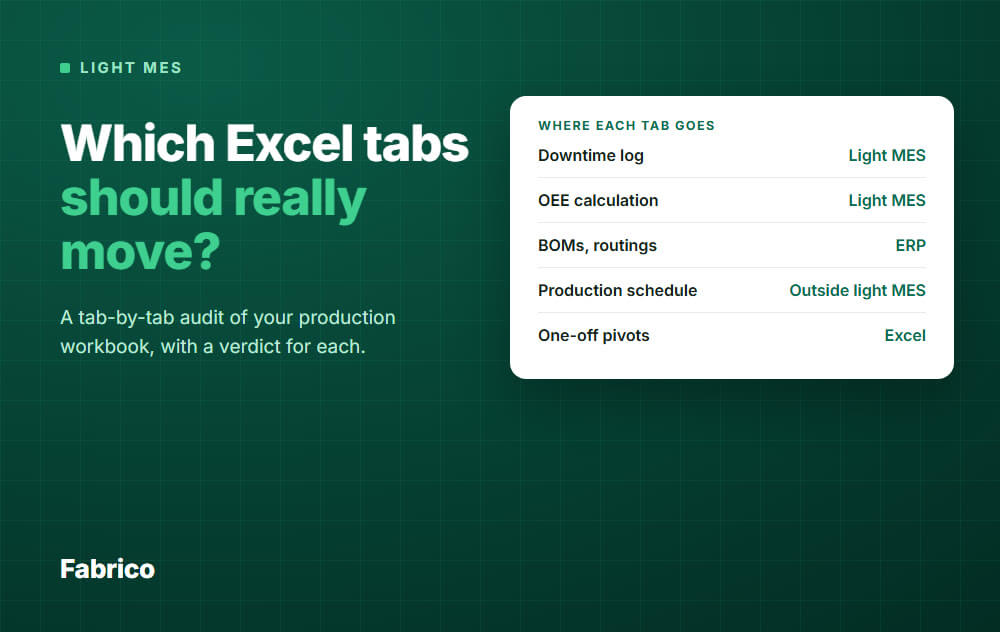
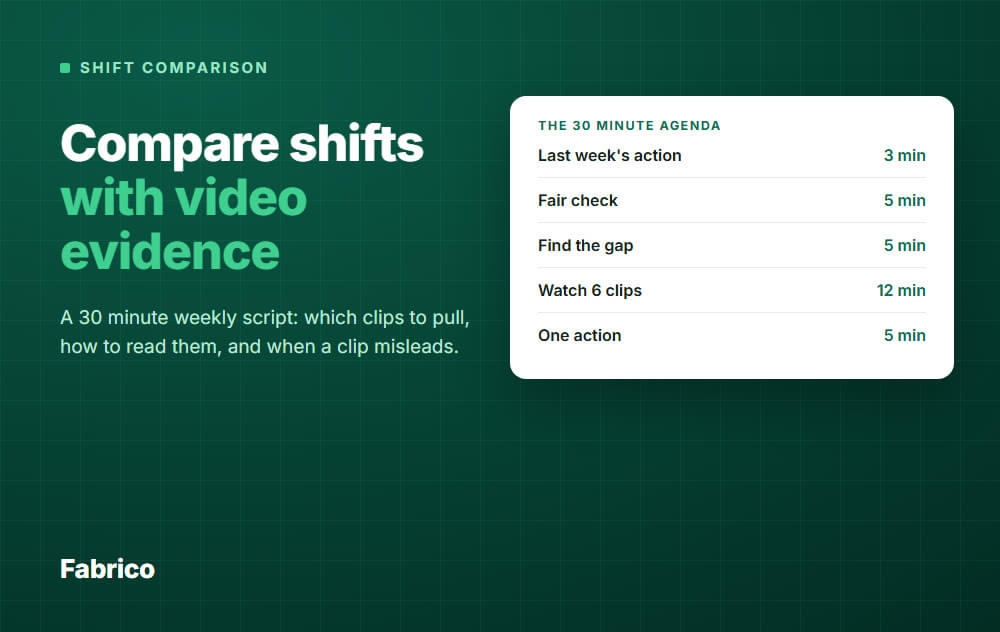
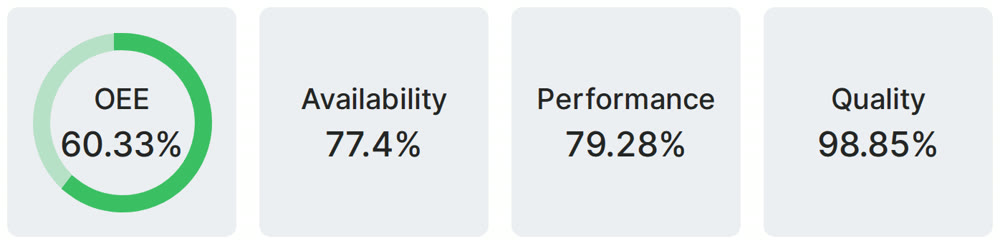
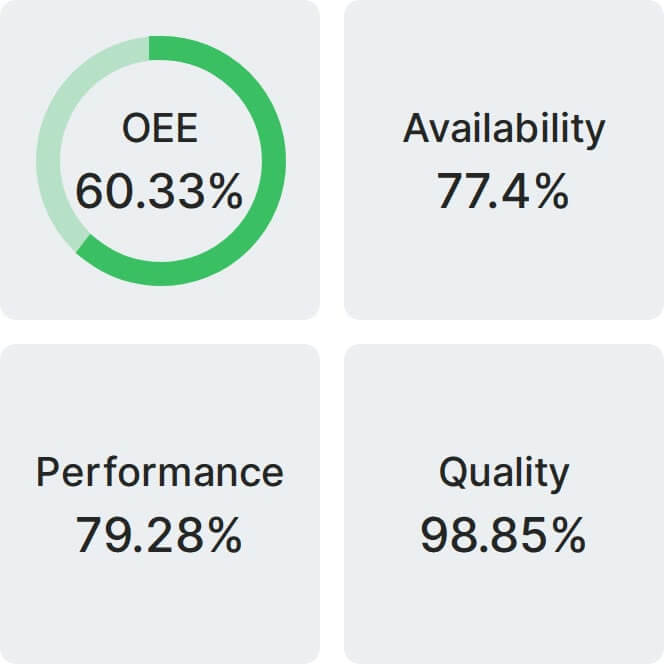
Real Fabrico tiles, sample data.